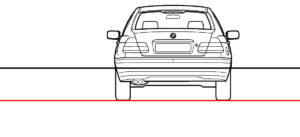
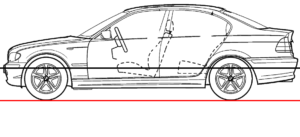
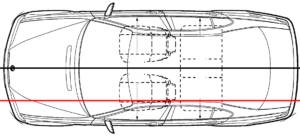
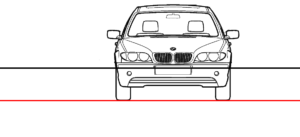
First things first. I started by collecting blueprint images of the E46 from the net. The red and black lines were drawn to align the views and guarantee they are resized to the same scale.
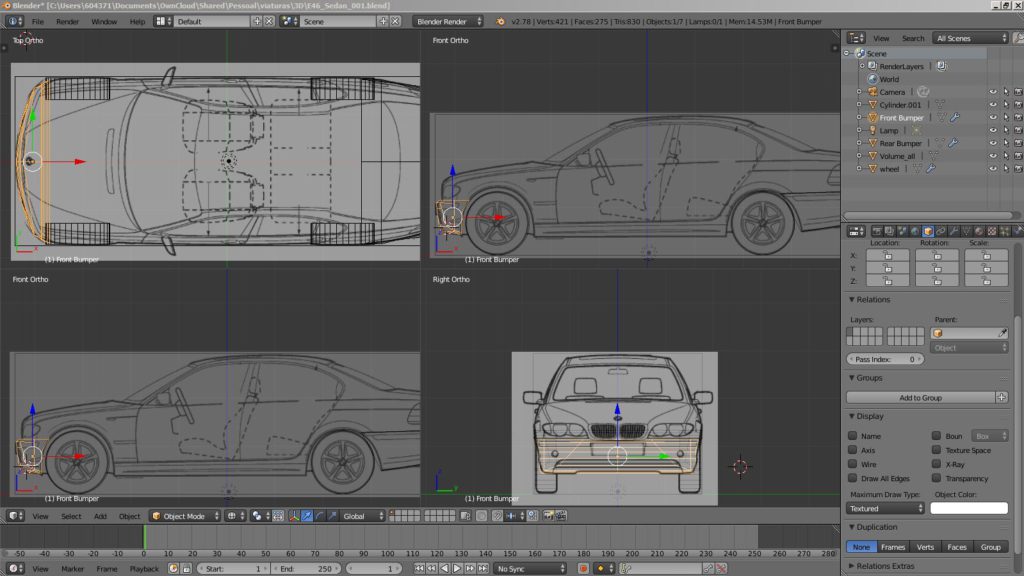
These blueprints were then set as background images on the blender project:
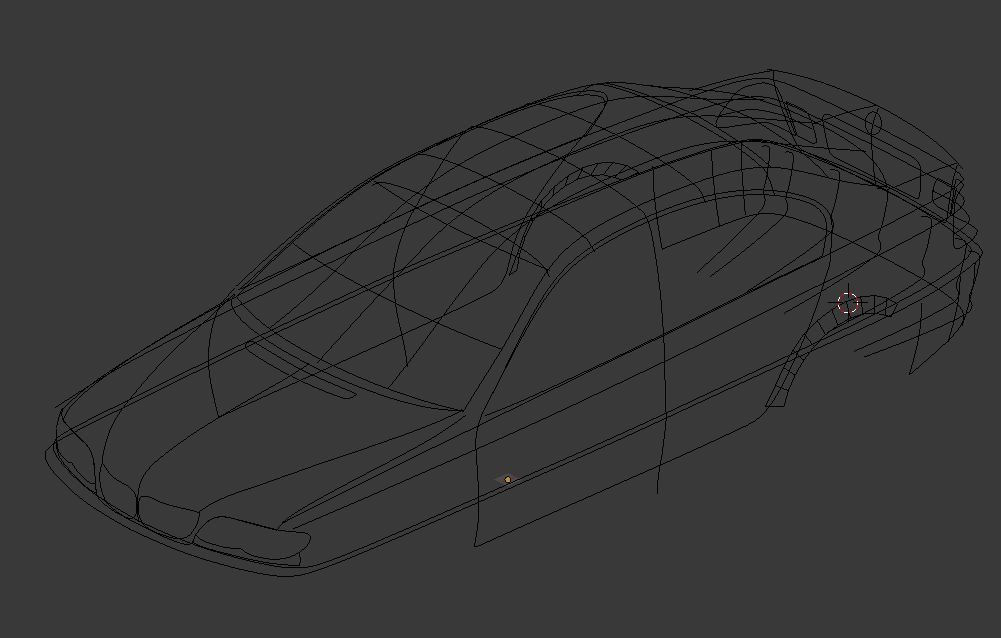
Using these background images and several pictures of the vehicle, the main lines were sketched in 3d:
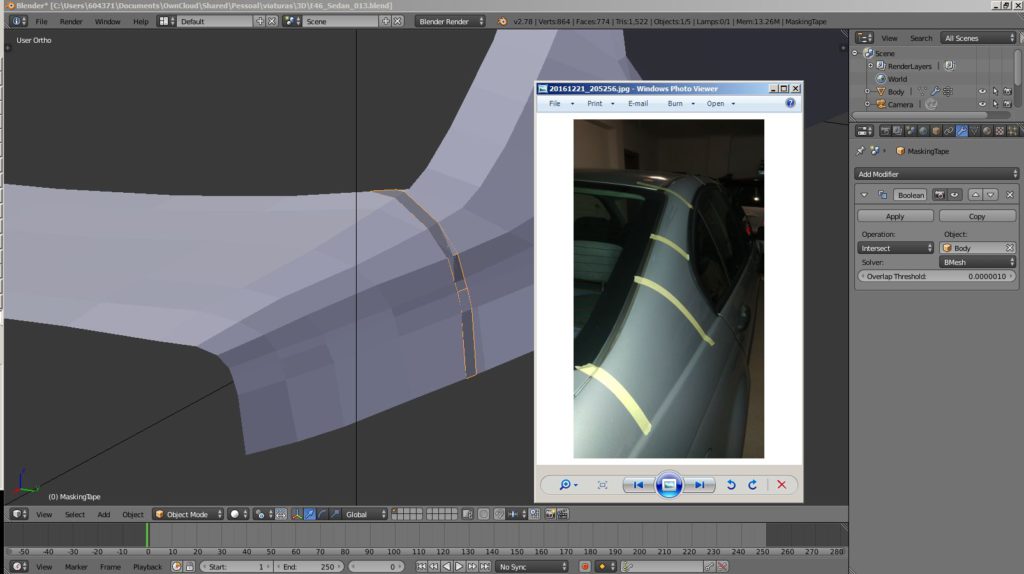
Sometimes I had to use some tape on the real model and check if the curves were right:
After a few iterations I did a test render of the model and a turn plate animation to check the overall look of the curves.
Last weekend I finally found the time to do an oil change on my son’s 2006 Renault Clio III 1.5dci. I have never done any maintenance on this vehicle except for the occasional battery or light bulb replacement – which, depending on the bulb can still be quite a challenge!
In fact more than two years had passed since the last oil change, but as this vehicle has seen very light usage, I always had more urgent maintenance to perform on the pair of BMW E46s.
Little did I know about what I was getting into!
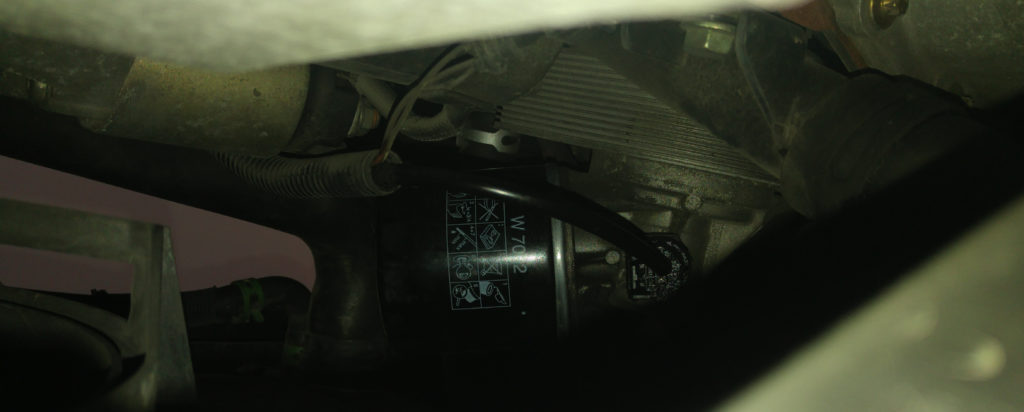
First attempts to unscrew the old filter by hand proved futile. Not even from below where there is more space to grab the filter and apply torque.
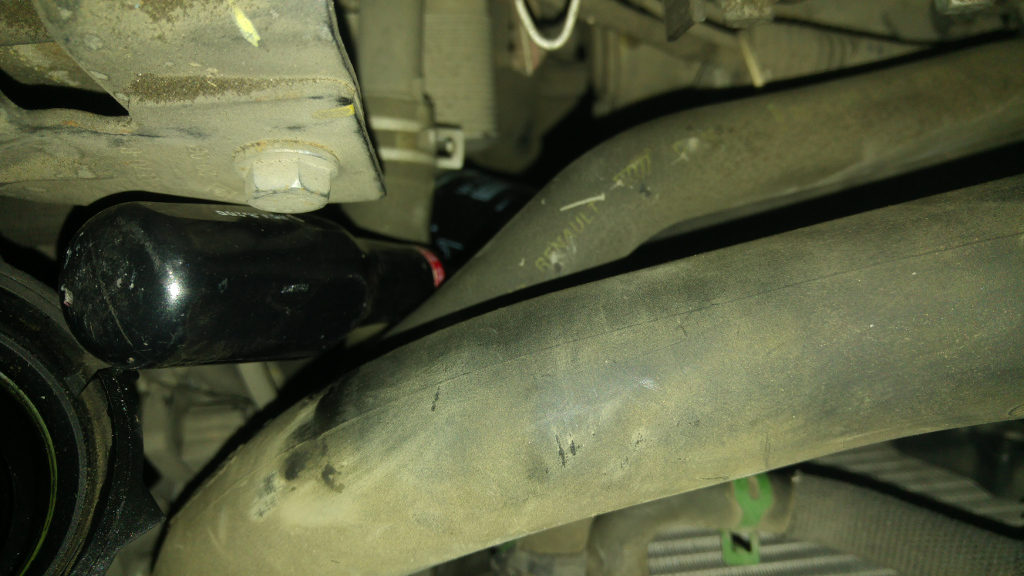
The stuck oil filter viewed from below
A quick trip to the store and I got myself a cheap oil filter wrench with a metallic band to wrap around the stubborn filter. Not only did it take me the best part of an hour to securely attach the tool to the filter, given how crammed the area is, but it also proved impossible to start rotating the filter without the tool slipping. A bit of sand paper between the tool and filter did not help either…
After a few phone calls to friends more knowledgeable than me, I decided to trespass the filter with an old screwdriver and use that to apply a decent amount of torque to finally unscrew the damn thing!
On the next picture you can see the screwdriver through the filter and some hoses already disconnected to make way.
A screwdriver trough the filter could not get it started
I had to put so much force that the screwdriver started ripping through the filter core and outer shell! But still without a single degree of rotation!!!
By now I had already spent more than four hours and still no sign of how I would remove the filter… And now I was stuck with a dead vehicle in the garage!
On the following day I started cutting away the top of the filter shell in the hope of extracting the filter element and getting access to the base plate to use the holes there to leverage some tool that I still had to create. A sad and lonely morning of carefully hammering various types of screwdrivers trough it, within an incredible tight space and with the fragile radiator centimeters away of the violent hammer action!
Looking back, even if I used an heavy blanket to protect the radiator, it would not have saved me from the disaster that followed: a single slip of the screwdriver tip punctured the radiator followed by a leak of green coolant all over the place!!
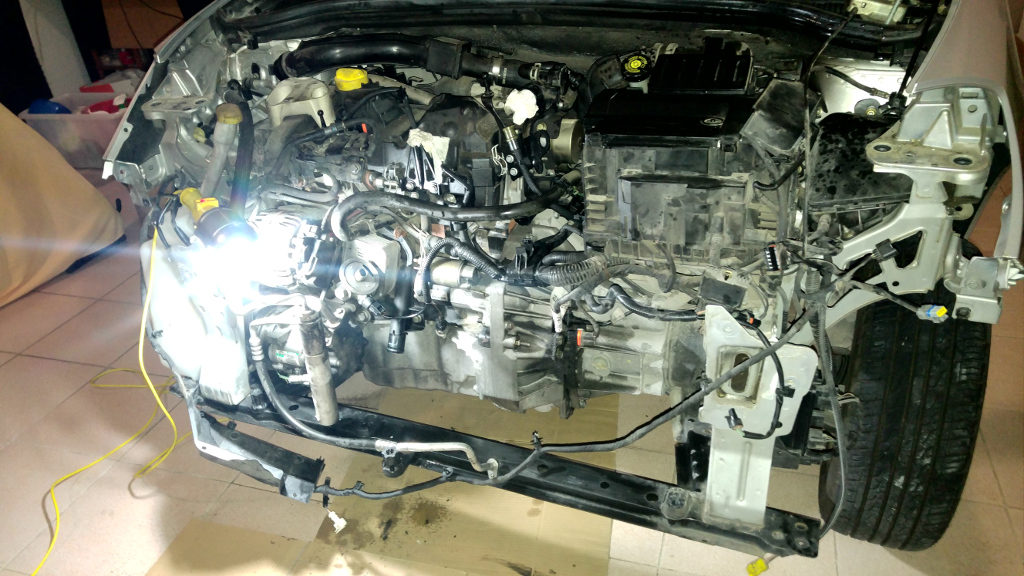
I spent the rest of the day cursing, dismantling the whole front of the car and on the phone trying to get the best price for a replacement for the 8200134606 radiator. I also had the bitter surprise of discovering that the air conditioning had also to be discharged because of the radiator…
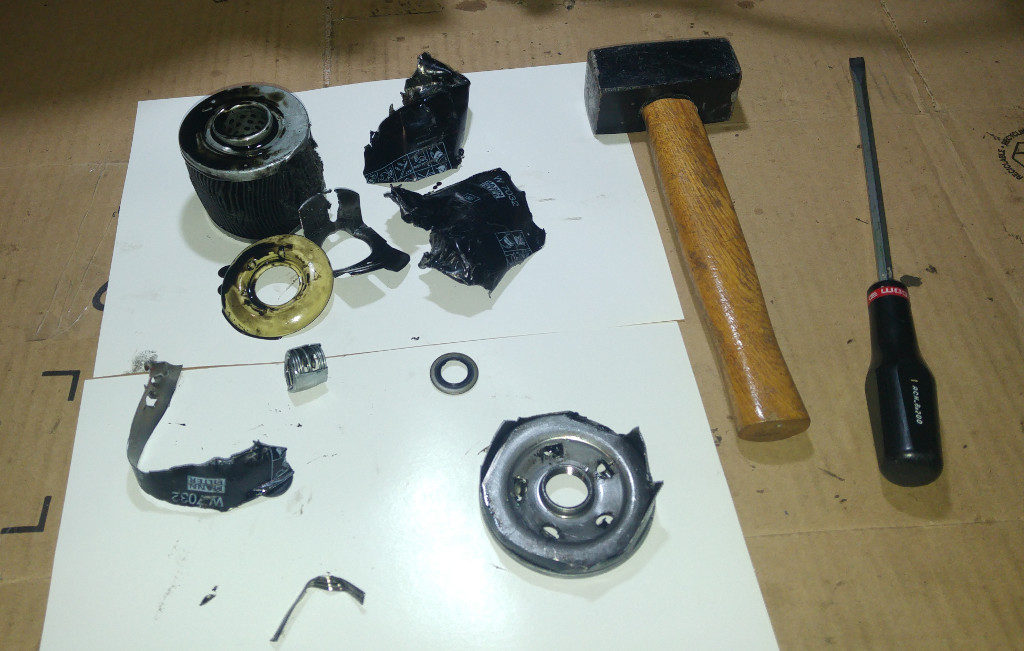
In the end I finally got the space I needed to tear open the old filter and use its base plate to tap and unscrew it. But even this final step took me over two hours of hammering!!
The old oil filter after removalThe amount of disassembling to access and remove the stuck oil filter – and replace the radiator as a result of a slippage
The new filter had the mandatory oil film over the seal and was exclusively hand tightened over the filter housing.
I took the opportunity to inspect and clean every centimeter of the exposed engine, gearbox, connectors and harnesses, replace the air and cabin filters, and flush and replace the coolant.
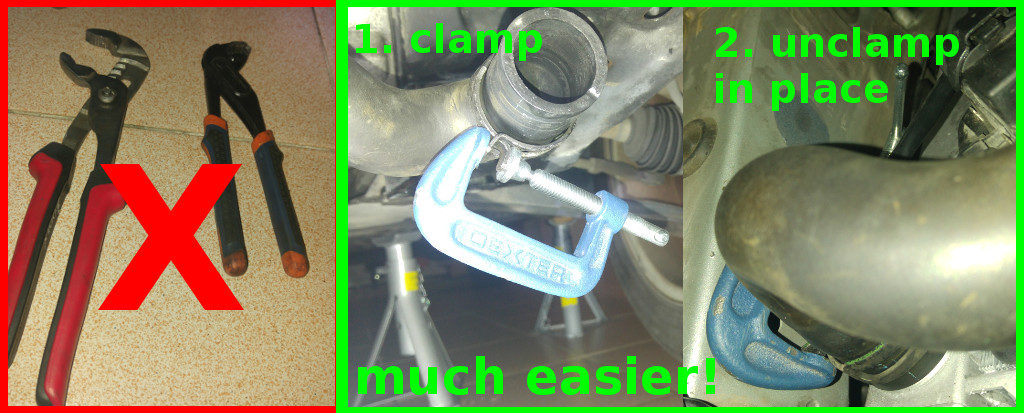
While struggling to put back the lower hose clamp using a pair of pliers and trying to avoid damage to the radiator, I found it much easier to simple use a small c-clamp to squeeze it open and then unclamp it in place.
An easier way to handle the coolant hose clamps
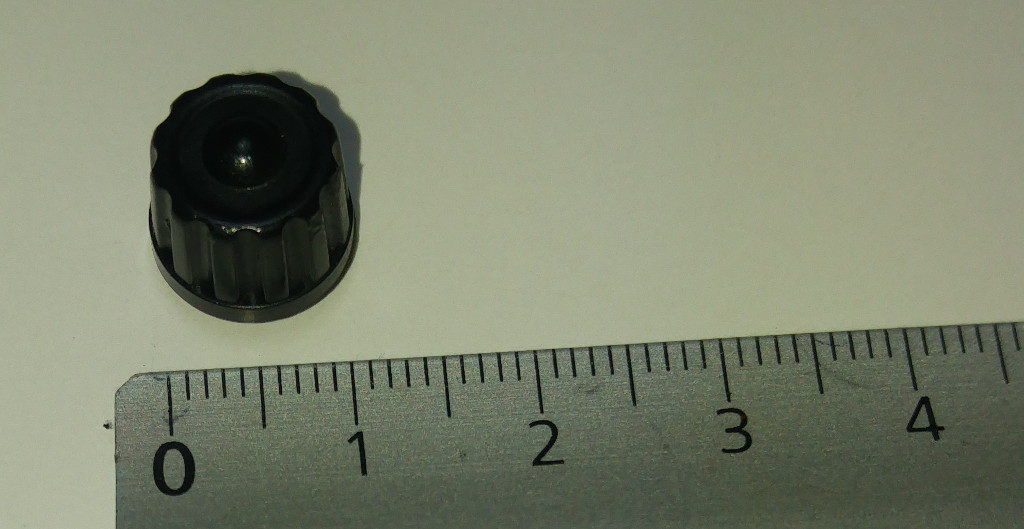
As a final hurdle, when I was finally bleeding the colling system I dropped the plastic bleed valve on the thermostat into the engine bay, for never to be seen again! It took me an extra day to get another bleed valve from a local car parts salvage market.
Replacement for the small bleed valve cap dropped inside the engine bay
Lessons learned the hard way:
Watch out when working near the radiator! Always protect it with an heavy blanket or something similar and never pull a tool towards it. A slip and you’re done!
Use extreme care to avoid dropping something into the engine bay, specially things that you will not do without!
Use a c-clamp to remove and position the coolant hoses clamps.
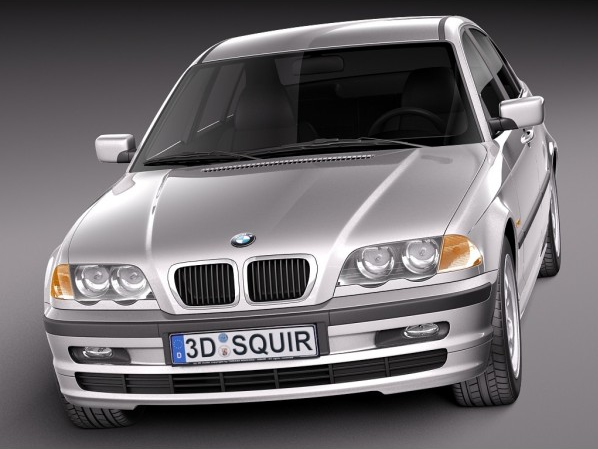
I have finally started developing a 3d model of the BMW E46. There are a few very good 3d models out there if you’re willing to spend some money. Believe me it takes a lot of work to create these!
This one from www.cgtrader.com is quite amazing, although from this angle the hood looks awkward:
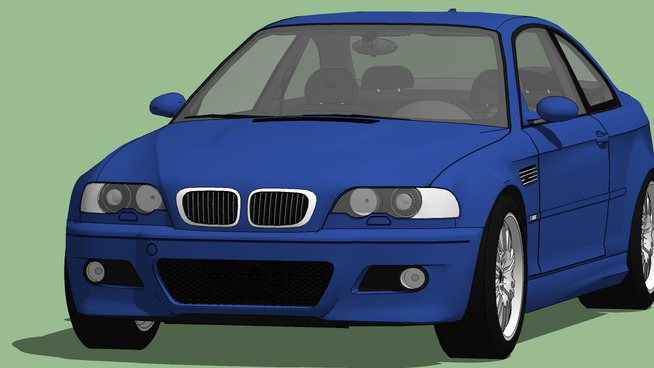
Another one from www.cgriver.com. In this case the headlights and interior need some more detail, but still a very good model:
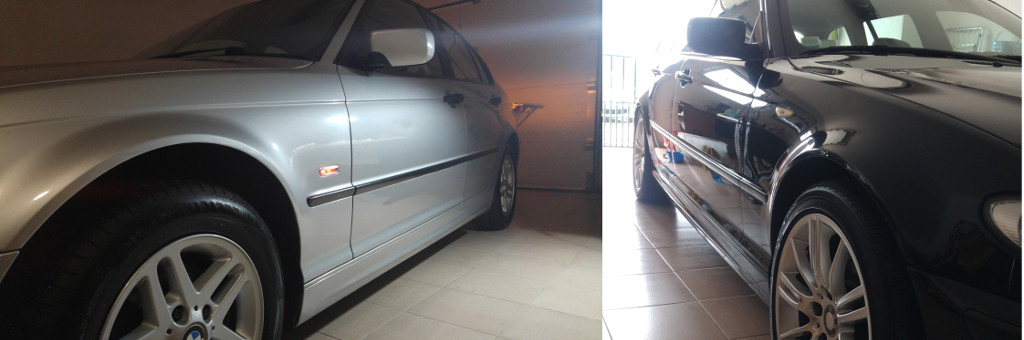
There are also tons of free models available with varying degree of awesomeness:
Even though I will probably never reach the level of the top models, I decided to give it a try for the fun of it. My goals are to create a 3d model with:
a “convincing” external appearance
a moderately detailed interior
representation of major structural and mechanical components to enable the creation of animations for maintenance operations