Running Ardour on a Raspberry Pi 4

Q: Is a Raspberry Pi 4 (4Gb) powerful enough to run Ardour?

A: Yes

I set out to discover how it would cope with the modest requirements of this excellent digital audio workstation.

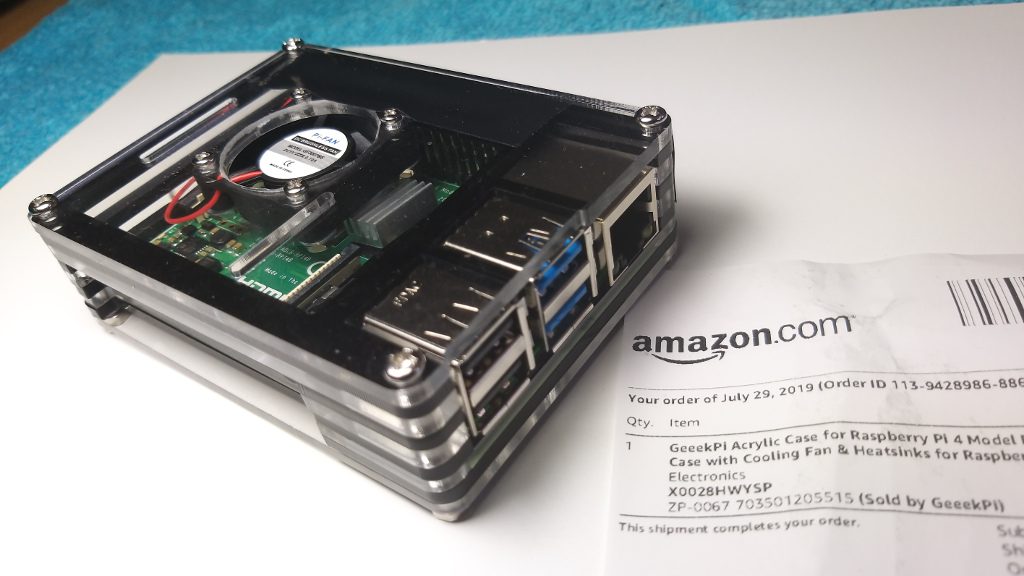
A word of caution: running the Raspberry PI 4 with the official case is not recommended. Even with trivial non-audio operations the whole thing gets so hot that it quickly throttles down to a grind.

For that reason, I ordered an acrylic case with heatsinks and fan which turned out to be the perfect environment for the PI. Not only it keeps everything cool but looks so too!

I installed Raspbian Buster and downloaded the latest ardour sources. If you use are going to use this software please make sure you make a contribution – there’s a lot of work in there that should be supported!

The list of dependencies to install includes:

libaubio-dev libboost-dev libcppunit-dev libcurl4-openssl-dev libfftw3-dev libglib2.0-dev libglibmm-2.4-dev libgtkmm-2.4-dev python-isodate libjpeg-9 libarchive-dev libart-2.0-2 liblo-dev libsamplerate0-dev libsndfile1-dev libusb-1.0-0-dev libxml++2.6-dev liblilv-dev liblrdf0-dev lv2-dev libpangomm-1.4-dev libreadline-dev librubberband-dev libserd-dev libsord-dev libsratom-dev libsuil-dev libtag1-dev vamp-plugin-sdk libasound2-dev libudev-dev libjack-dev

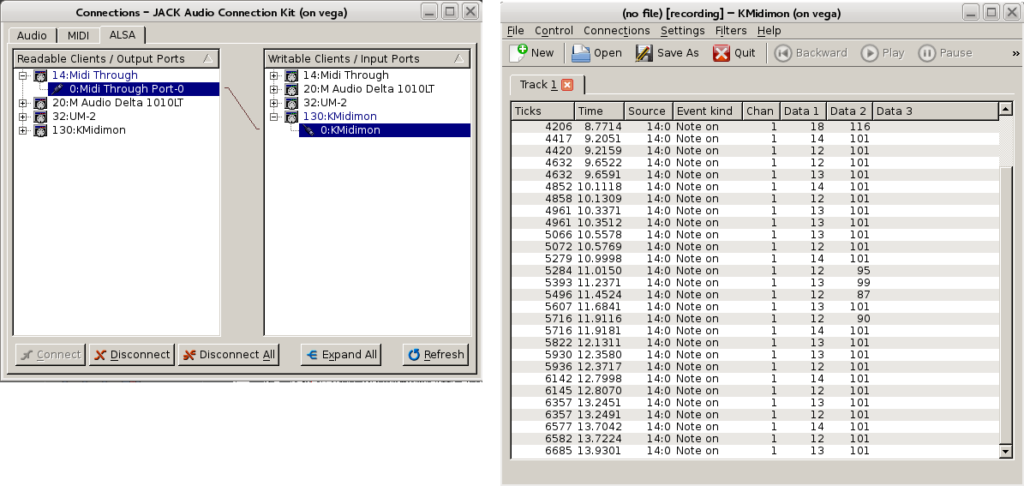
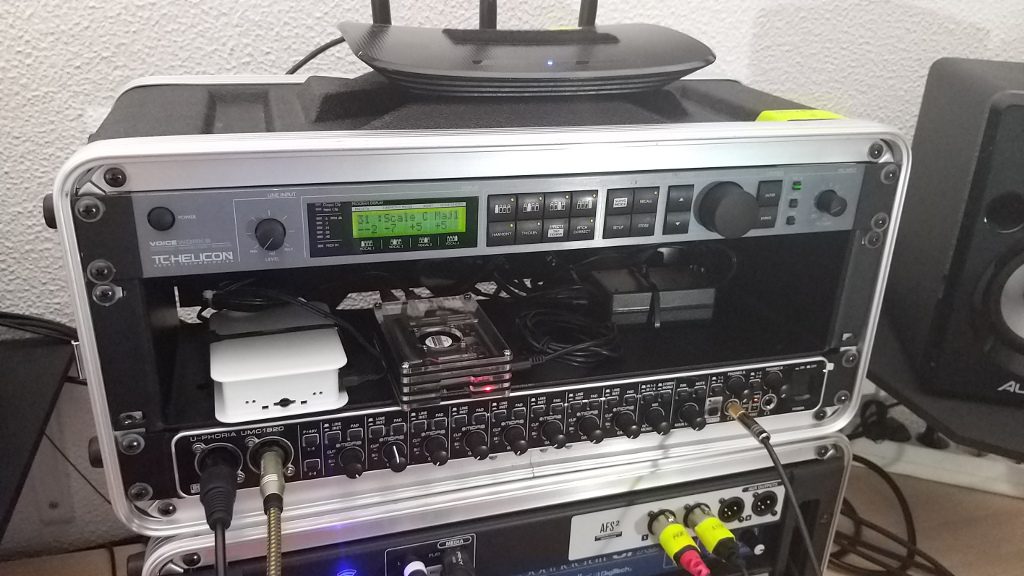
The Raspberry is currently installed on my Rehearsal/Live rack and is connected to a Behringer u-phoria umc 1820 audio/midi interface (8/10 In/Outs, 18/20 In/Outs with ADAT).

Jack is configured to run at 96KHz. The 21.3 millisecond measured latency is sub-optimal but as I normally monitor directly, it does not matter to me.

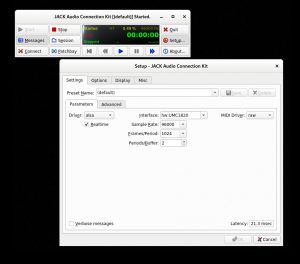
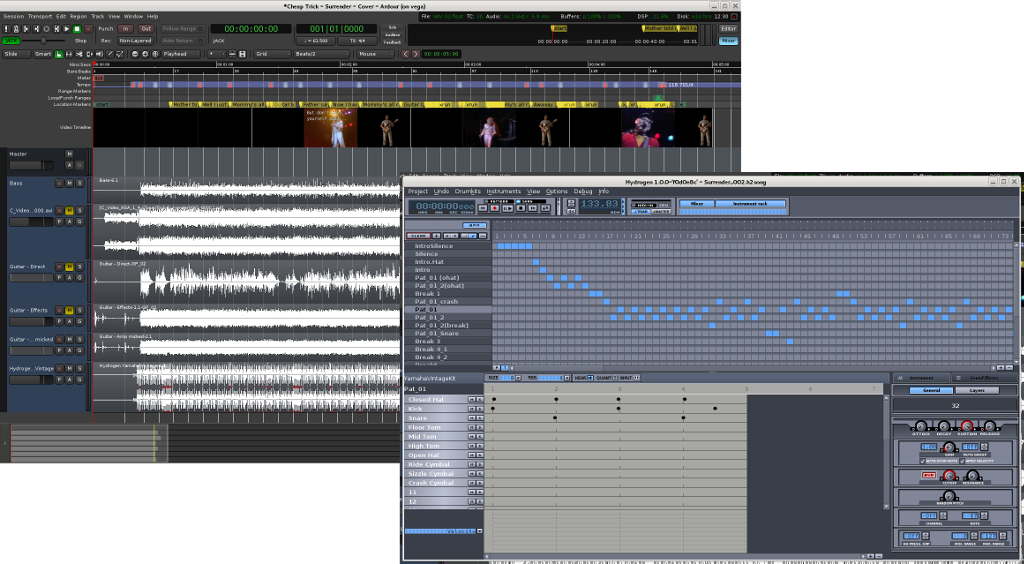
In my tests I was able to consistently record 8 tracks without a single xrun, although I was not using any plugins. Ardour was running remotely using X11 display forwarding:

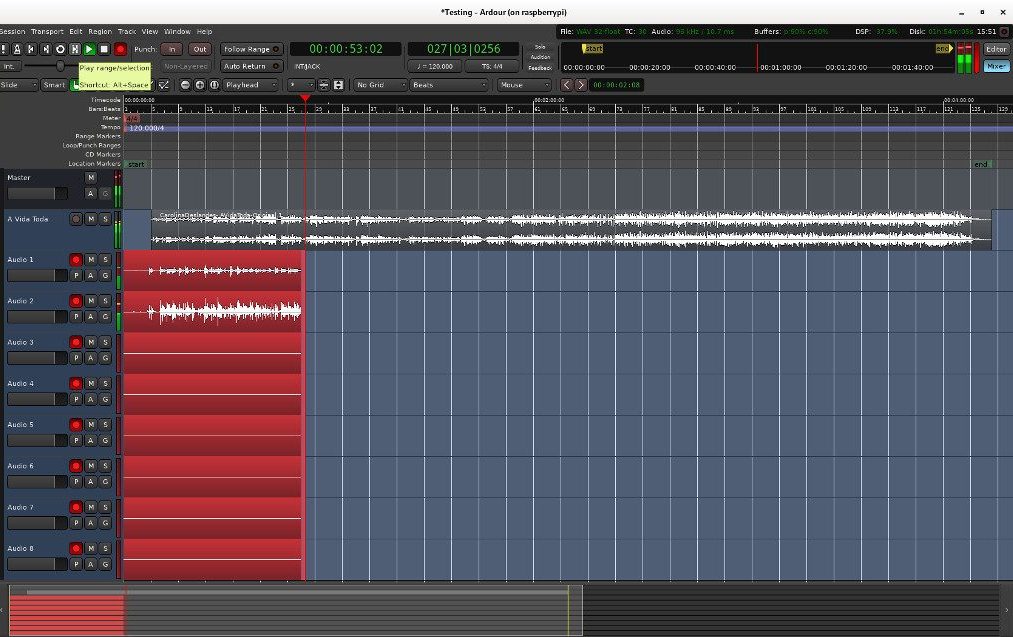
In retrospective, I doubt I have a valid use case for running ardour in this setup. In the studio, I will continue to use my desktop computer to run ardour, whether trough my old dependable M-Audio Delta 1010LT PCI card, or with a new setup based on a Soundcraft Ui24R mixer.

For live recording, having to carry a laptop (or alternatively a monitor + keyboard + mouse combination), defeats the purpose of having it all inside a tiny device, specially if you need to record multiple inputs simultaneously, which anyway requires a sizeable audio interface. In this case a simpler recording solution using ecasound would be more manageable, not least because you could control it from a tablet running Termux. Again, in my case I would probably use the Soundcraft Ui24R to multitrack-record every channel and later transfer everything to the studio computer for processing.

Disclaimer: I am not in way associated with the products linked or referred to in this article.

Midi-triggered blender drummer model

My most recent challenge: using midi signals to drive a 3d model of a drummer and drumkit.

For music production I use ardour and hydrogen, synchronized by the jack audio connection server. For this project I set up an audio project for the classic Cheap Trick “Surrender” song and painstakingly created the drum midi track on hydrogen. I had to set more than 20 tempo changes just to keep it reasonably in-sync with the original performance!

The result was a stream of midi signals that were captured to a text file using the very useful kmidimon tool:

The drummer model was sketched using Makehuman, and the resulting model and armature loaded in a blender model of a vintage drumkit.

The script is a bunch of python code that loads the file with the midi events and then inserts the keyframes for the poses at the right frames on the animation.

The first result shows an awkwardly performing drummer hitting the drums on the right moments. The next steps involve working on more natural poses and dealing with alternate use of both hands for quick sequences. A draft animation of the first seconds into the song can be seen here:


E46 3D model – first results

< Previous article on series Next article on series >

First final results for the virtual model of my BMW E46 are here!

Below are three renderings of the model within a 360 degree environment photo taken here. There are still some crucial elements missing like the rear view mirror and turn lights.

Below are some pictures corresponding to different phases of the project:

Blueprint overlays used to create the main curves


3D rendering of main curves


Comparing virtual and real models


Main curves rendered for 360/3D VR test


Overall chassi shape


Skinning the model


Differentiating and articulating panels


Fully skinned model


Testing tail lights – each one is realistically modeled using a reflector, light-emitting bulb and textured transparent plastic


Detail of rear axle components


Modeling the dashboard and center console


A quick rendering of the interior


Hinged doors


Nearly finished model


Rendered within a 360 degree environment photo
< Previous article on series Next article on series >

BMW E46 3d model – part 3 – perfecting curves using a VR headset

The most important step in creating a realistic 3d model of an existing object is to capture the main lines that define that object in space.

After drawing the main lines in two dimensions over the reference images they must now be “bent” on 3d space to form a convincing representation of the model. It helps to have the real object at hand to check how these lines should look from specific angles, diving into more detail where needed.

To have a clearer view of how the 3d model looks like I have been using 360/3D renderings visualized using a VR headset. This allows a clearer perception of where the lines stand in space and their relationship to each other.

Please note that the best way to watch this video is using a VR headset and with full 4K resolution. If you watch it on a desktop all you will see is two images (left and right eye) one on top of the other. You can also watch it directly on an Android device but you will be loosing the 3D part of the experience.

Enjoy!